
Essential Mixing Tips for Your Home Studio
- Mark Georgiou

- Mar 5
- 3 min read

Mixing music is an exciting journey, whether you're just starting out or refining your skills. The process often begins simply, with basic effects and plugins, but as your knowledge grows, so do the complexities. Sometimes, the sheer number of options can be overwhelming, leading to frustration and self-doubt. When that happens, it's time to return to the fundamentals and rediscover the magic that sparked your passion for mixing in the first place.
If you’re looking for a fresh approach or need a ‘back to basics’ reset, here are some essential mixing tips to keep things simple and effective in your home studio.
1. Export Tracks to a Dedicated Mix Session
To fully focus on mixing, consider exporting all your recorded or programmed tracks and importing them into a clean mix session. Converting MIDI to audio helps declutter your workspace and ensures a smoother workflow.
This approach also prepares you for professional mixing scenarios. Try sending your exported tracks to yourself as if you were a mix engineer receiving them. This will give you insight into how professionals handle audio files and help you refine your preparation process.
2. Use a Single Channel Strip Plugin Per Track
Limit yourself to one channel strip plugin per track when mixing. This approach simplifies your workflow and helps you develop a deeper understanding of essential processing tools.
Channel strip plugins typically include gain controls, filters, equalisation, compression, and gating—everything you need to shape your sound. Some great free options include NastyVCS by Variety of Sound, FrankCS, and LOADEDby Analog Obsession.

3. Identify Problem Frequencies and Reduce Gain
A useful equalization technique involves boosting a frequency band and sweeping the spectrum until you find an unpleasant resonance. Once identified, reset the gain to zero, let your ears adjust, and then apply a controlled reduction to tame the issue.
For free EQ plugins, check out TDR Nova and VOS SlickEQ.
4. Remove Unnecessary Frequencies
Every sound contains both desirable and unwanted elements. Instead of just boosting the good, focus on cutting the unnecessary.
Use an EQ to remove unwanted frequencies and a noise gate to eliminate low-level noise. This will help clean up your mix, making it sound clearer and more professional.
5. Simplify Your Arrangement
A well-structured arrangement makes mixing easier. Overcrowding a mix with too many elements can create clashes and muddiness. Listen critically and ask yourself:
Are all the tracks necessary?
Is each track adding value?
Are any elements canceling each other out?
Muting tracks temporarily can help you identify unnecessary elements. Also, mixing in mono can reveal hidden problems caused by stereo spread.
6. Use LCR Panning
Try limiting your pan positions to just Left, Center, and Right (LCR Mixing). Many professional mixes use this method to achieve wide, balanced soundscapes. If your mix feels too open, add reverb and delay to create cohesion between elements.
7. Build Your Mix Like a Pyramid
Think of your mix as a pyramid, starting with the foundational elements—like drums and bass—at the bottom and layering up to the lead vocals at the top.
As you bring in each new sound, adjust its level until it starts to slightly dull the previous element, then back it off slightly. This prevents audio masking and ensures each element has its own space in the mix.
8. Practice Proper Gain Staging
Proper gain staging prevents clipping and distortion. Use the input and output gain controls of your channel strip to make level adjustments before reaching for faders. Keep an eye on the output meters to ensure you're not pushing signals into distortion.
If you see red warning lights on your plugin meters, reduce the output gain to prevent digital clipping.
9. Apply Light Compression to Every Track
Analog tape naturally compresses audio, creating a smooth, controlled sound. To achieve a similar effect in digital mixing, apply light compression to each track.
If you’re new to compression, start with:
Threshold: -30dB
Attack: Slow
Release: Fast
Ratio: Increase until achieving about -3dB gain reduction on peaks
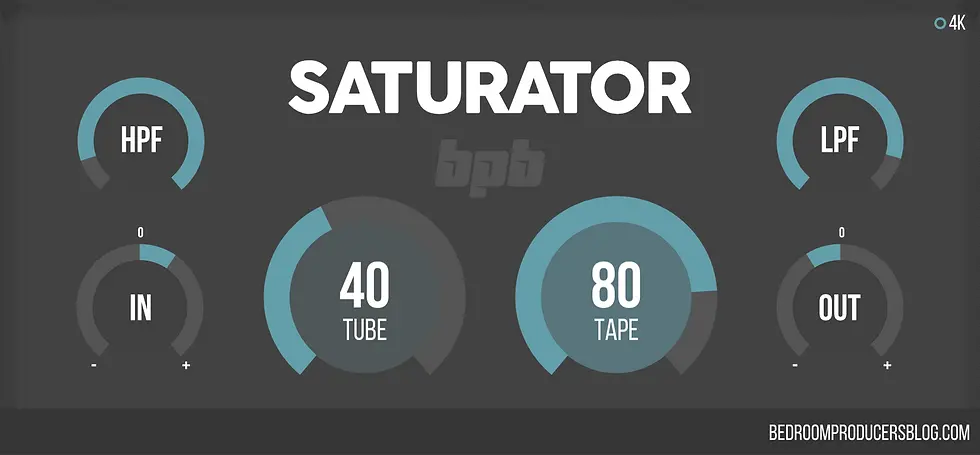
You can also use saturation plugins like BPB Saturator, FerricTDS, or TAIP to add warmth and character.
10. Master Your Mixing Tools
To mix efficiently, you must deeply understand your Digital Audio Workstation (DAW) and plugins. Read manuals, explore hidden functions, and memorise keyboard shortcuts to speed up your workflow.
Rather than collecting a vast number of plugins, focus on mastering a few essential ones.
11. Approach Mixing With Confidence
Your mindset is just as important as your technical skills. The moment you load up your mix session, step into the role of a mix engineer with confidence. Trust your instincts, work quickly, and commit to your creative decisions.
By simplifying your approach and focusing on the essentials, you’ll create better mixes faster and enjoy the process more. Happy mixing!


Comments